Another way to save your information from Google is to selectively open the service that you want to download data from, such as Gmail or Google Photos, and pick what to save to your computer. Beyond a simple offline backup, you might want to download your Google data if you plan on deleting your Google account but you want to retain a copy of everything you’ve got stored on Google’s servers. Or maybe you’d like to keep a second copy of your Google data on another cloud service provider’s server, like Dropbox or OneDrive.
Export All Your
Google Info
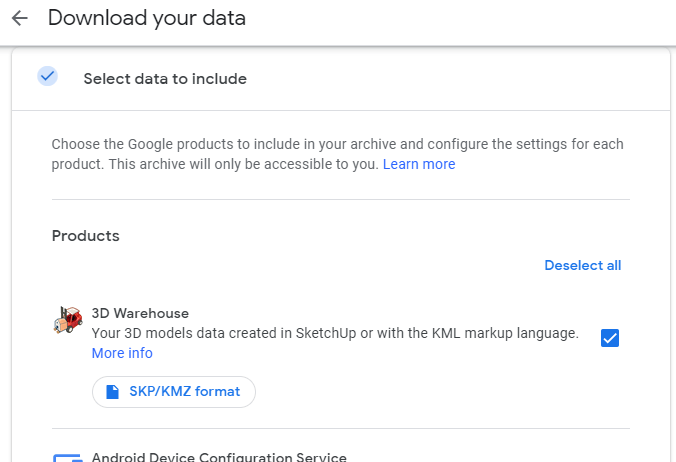
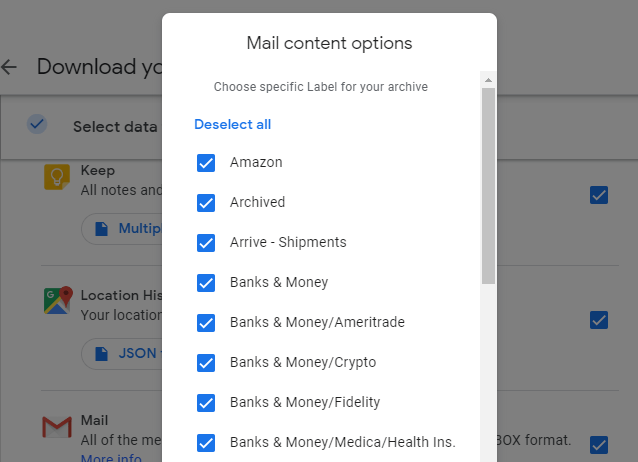
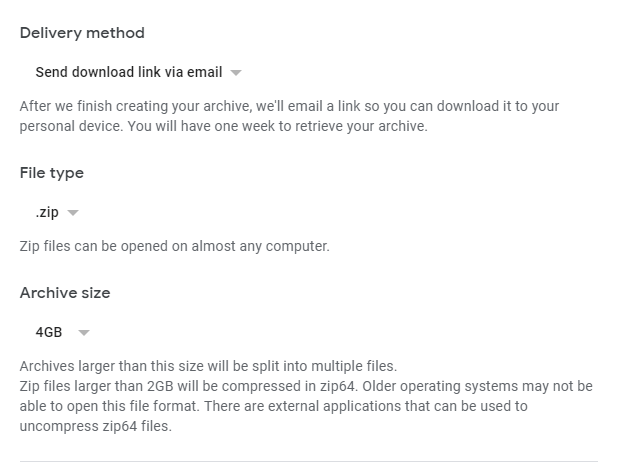
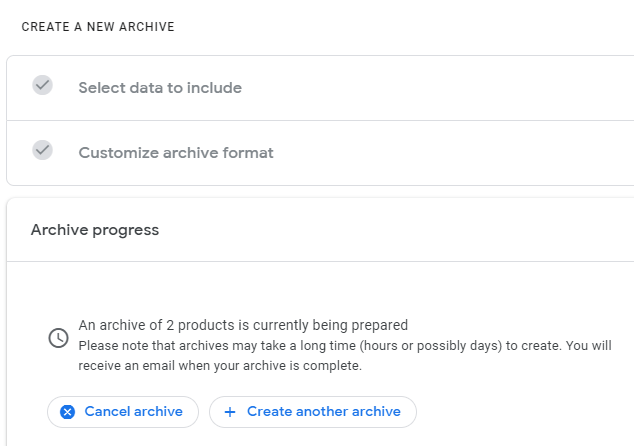
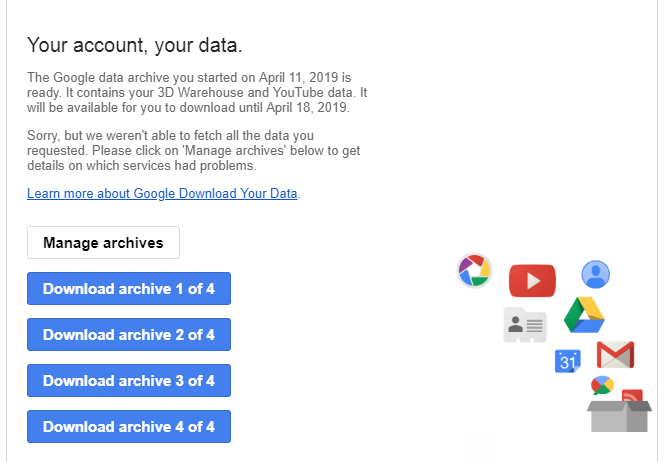
Follow these steps to access the Google takeout page that lets you choose what to download from Google, and then decide how you want to receive the archive: Step 1: Access your Google account and log in when asked. Step 2: Select Data & personalization on the left. Step 3: Scroll to the Download, delete, or make a plan for your data section and choose Download your data. Step 4: Pick what to include in the Google archive. Use the Deselect all link at the top of the list to remove all the check marks and manually include specific items. Or, you can leave every item selected to download absolutely everything available. Note: Some of the items in the list have an extra button you can select to choose what data in that particular section should be included in the backup. For example, if you press the button next to Mail, you can choose which Gmail labels to include and exclude from the download; save only what’s in your Inbox folder, for example, or everything but the contents of Spam. Step 5: Scroll to the very bottom to pick Next step. Step 6: Select Send download link via email so that you’ll get an email when the download is ready. Or, pick from the other options in that menu if you want your data saved to a cloud storage service first so that you can easily copy it to your account there. These options include Add to Drive, Add to Dropbox, Add to OneDrive, and Add to Box. Step 7: Select .zip or .tgz from the File type menu. ZIP is more common for Windows users, so if that’s the operating system you use, it’d be best to keep that format selected. Step 8: Pick an option from the Archive size menu to choose at what file size Google will split the archive into separate files. The options include 1GB, 2GB, 4GB, 10GB, and 50GB. For example, if you pick 2GB and your download is a total of 3 GB, you’ll get two files. However, if that size is chosen and your download is less than 2 GB, you’ll have just one file. Step 9: Select Create archive to start the Google backup procedure based on all the information you provided in the prior steps. You’ll get an email right away to notify you that a request of your data has been started. Step 10: Wait for the archive to complete and then open the email from Google that includes the link(s) to download your Google information. Note: It could take quite a while to get this email — even several days — so don’t expect it right away. If you leave the last page that shows the progress of the archive, just return to Step 3 above to make sure it’s still running. That same page can be used to cancel the archive.
Other Ways to
Download Your Google Data
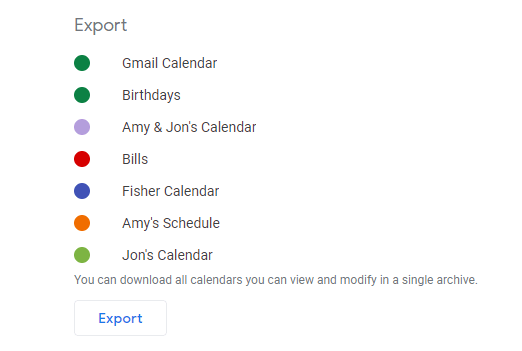
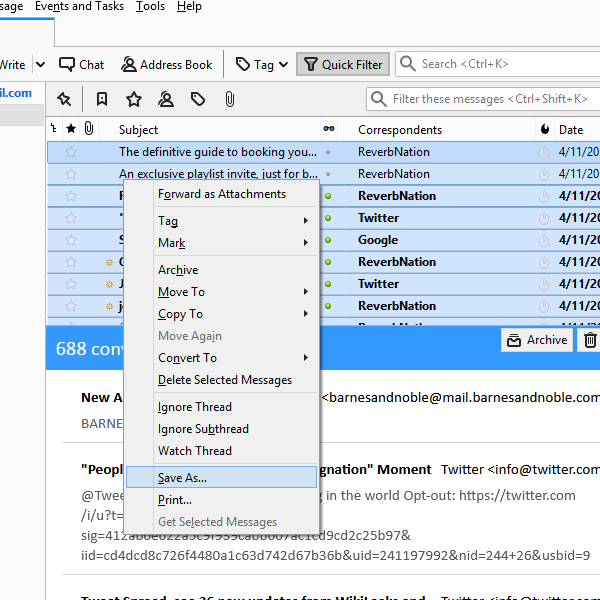
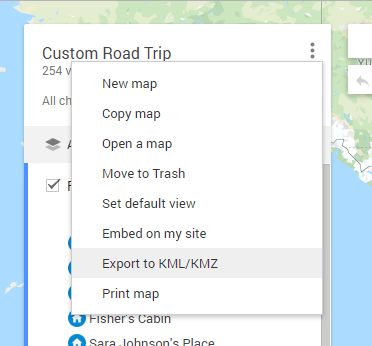
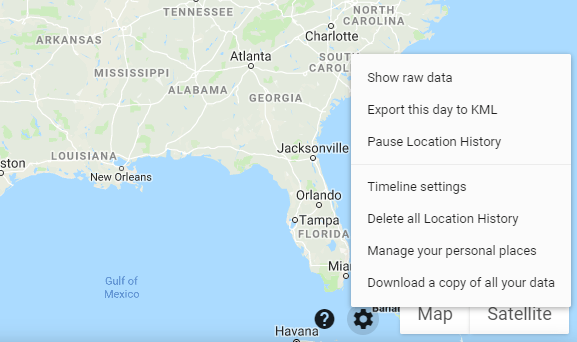
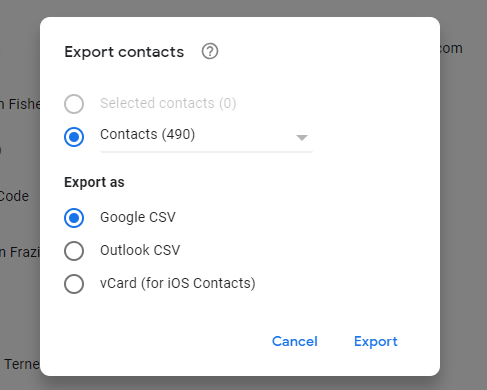
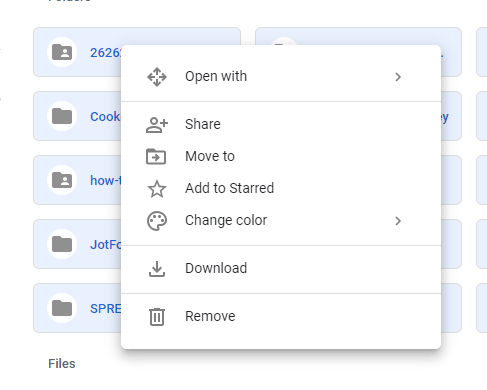
Some of Google’s individual services provide export/backup features. Going a different route than what’s described above might be preferred if you don’t want to wait for the archive to complete. However, Google takeout is still the best way to download all of your data. With Google Calendar, for example, you can access the export page to back up your calendars to the iCal format. This lets you import those same calendar events into a different application while simultaneously providing a way to easily backup Google Calendar to your computer. Save Google Photos data in bulk by opening an album and using the menu at the top to choose Download all. Google Photos will package the contents of that album into a ZIP file with the same name as the album. You can also select multiple photos in your Google Photos account and use the Download option in the menu to save just those photos. You can save your Gmail messages to your computer by loading them through an offline email client like Thunderbird. Set up the email client with your Gmail login information and then once the emails have downloaded to your computer, right-click the group of emails to back up and select Save As. Pick a folder and your Gmail emails will copy over as EML files! If you’ve made custom maps in Google Maps, you can export those to KML or KMZ files for use as a backup or to load into other programs such as Google Earth. To do this, select the menu at the top left of Google Maps, go to Your places and then Maps, choose a map from the list and select Open in My Maps. Use the three-dotted menu at the top to find the export button. Similarly, if you use the Timeline feature in Google Maps to keep track of where you’ve been, you can find an export function there. It works for the day you’re currently viewing, so pick a date and then select Export this day to KML. Google Contacts is one of the easiest ways to keep your contacts synced between all your devices. However, if you need a backup of your contacts, you can do that, too, by selecting More and then Export on the left side of the Google Contacts page. You can backup all your contacts or just the ones in a specific group. Downloading Google Drive files is as easy as it is to save any of your information from Google. Right-click one or more folders or files and choose Download,or install Backup and Sync and select which folders to save to your computer.
